
Introduction
My first gaming PC was built in my college dorm room with a screwdriver I borrowed from my RA and a YouTube tutorial paused every thirty seconds. I bent a CPU pin on my motherboard trying to force a processor in the wrong orientation, spent forty minutes convinced I bricked a $200 part, and finally realized I had just been holding it upside down the whole time.
That PC lasted me six years after I finally got it working. I’ve made three since then and still make little mistakes every time. Nothing as dramatic as the first try, though, thankfully. If you’re interested in putting together your own budget gaming PC in 2026 and feeling a little overwhelmed, that’s totally normal. This guide is everything I wish someone had given me before that first build, minus the part where I almost cried over a bent pin.
Why You Should Build a Budget Gaming PC
Building your own gaming PC is primarily about cost-effectiveness, but it’s not just about saving money. Indeed, constructing your own system is almost always a better option than purchasing a comparable pre-built model for the same performance. Furthermore, a significant advantage, at least in my experience, is the flexibility for upgrades. For instance, my first build started as a basic system, and over its lifetime, I replaced the GPU twice and upgraded the RAM once. Consequently, I spent significantly less over six years compared to buying an entirely new pre-built system every time I sought improved performance.
Additionally, there’s a profound sense of satisfaction that comes from knowing exactly what components are inside your machine. In the event that something goes wrong—which, let’s be honest, eventually happens—you are equipped to troubleshoot effectively. This knowledge allows you to avoid the frustration of calling a support line and merely reading a serial number off a sticker.
How Much Does a Budget Gaming PC Cost?
However, budget expectations have honestly changed so much over the last couple of years. A good entry-level gaming rig in 2026 starts at around $500; $700 to $800 is a solid mid-tier option, and $1,000 gets you into comfortable 1440p territory. I know $500 still sounds like a lot of money to casually drop, and it is, but compared to what a pre-built with similar specs costs, you’re usually saving a meaningful chunk by assembling it yourself.
After buying a flashy case and skimping on my power supply, I learned to allocate 35-40% of your budget to the GPU, which has the biggest impact on gaming performance of almost anything else, and never skimp on your power supply no matter how tight things get.
Best Budget Gaming PC Parts
Best Budget Processors.
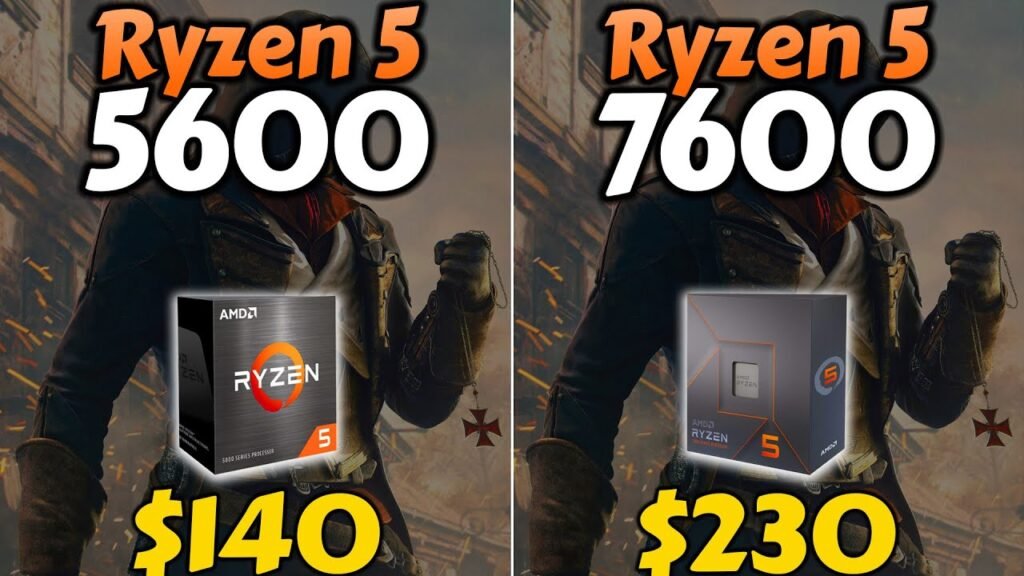
If you want the actual entry-level tier, the AMD Ryzen 5 5600G is really one of the smartest choices going into 2026, primarily because it’s an APU, which means it has integrated Vega graphics built in. This means you can skip a dedicated GPU for your first build and still play esports titles and lighter AAA games at 1080p.
AMD Ryzen 5 5600 (non-APU) works well with a budget dedicated GPU when added. This CPU’s performance per dollar makes it a budget favorite. For a $1,000 build with room to grow, the Ryzen 5 7600 on AM5 is worth the upgrade because it supports future CPU upgrades for longer. AMD’s website: http://www.amd.com
On my second build, I made the mistake of purchasing a CPU that technically supported my target games but did not leave much room for anything more demanding down the line. If your budget can stretch even a little, buy a little ahead of what you need today.
Budget GPU Winner.
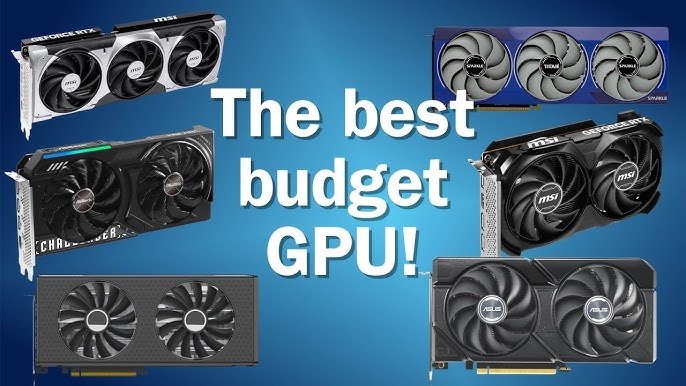
This is really where your money should go first. Some realistic options depending on your tier are
- AMD RX 7600 (8GB, $220)—The best pure performance-per-dollar option at 1080p currently, with low power draw and mature drivers.
- Intel Arc B580 (12GB, ~$310)—the only budget card with 12GB of VRAM at this price, and it actually goes a long way on newer titles that are getting greener with memory usage even at 1080p.
- Intel Arc B570—a bit cheaper than the B580, a solid choice if you’re building closer to the $700 mark.
- RTX 5060 Ti (16GB variant)—if you can stretch your budget to it, this brings DLSS 4 multi-frame generation down into a genuinely affordable price tier for the first time, and the 16GB VRAM version has real staying power over the 8GB variant.
From experience, my advice: if you can even remotely afford the 12GB or 16GB variant, don’t buy the 8GB version of any GPU. I regretted skimping on VRAM on a previous build about a year ago, watching newer games start choking on texture quality at settings that should’ve run fine.
Best RAM for Gaming.
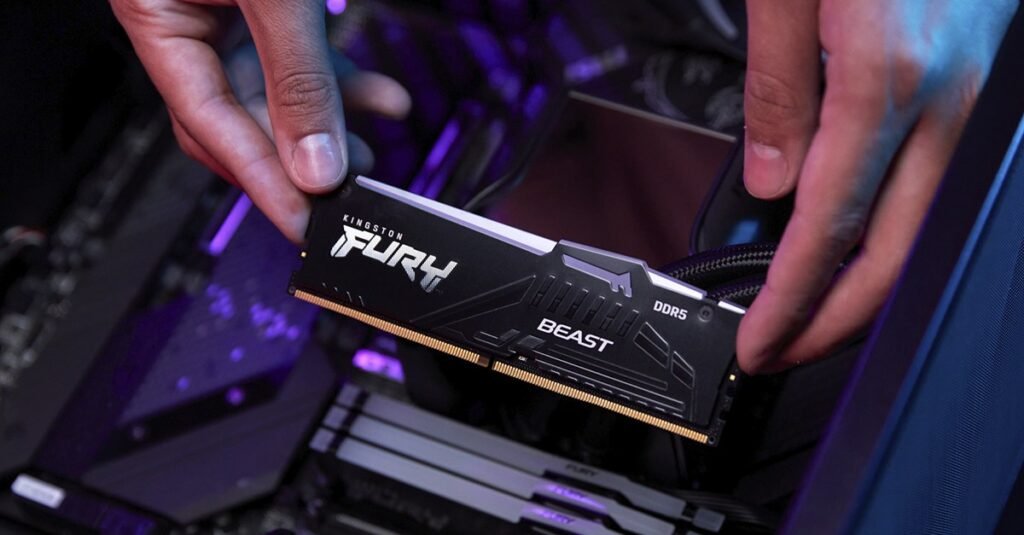
16GB is the practical minimum for gaming in 2026, period. I ran a machine with 8GB for about a year longer than I should have, thinking it was “fine,” but it was not great once I started multitasking with a browser open alongside a game.
DDR4 is what the AM4 platform builds support for (supports 5600 or 5600G), so go with it. For newer AM5 systems like the Ryzen 5 7600, you’ll need DDR5, which costs a little more but pairs with the platform’s actual capabilities.
Best SSD for Faster Load Times.
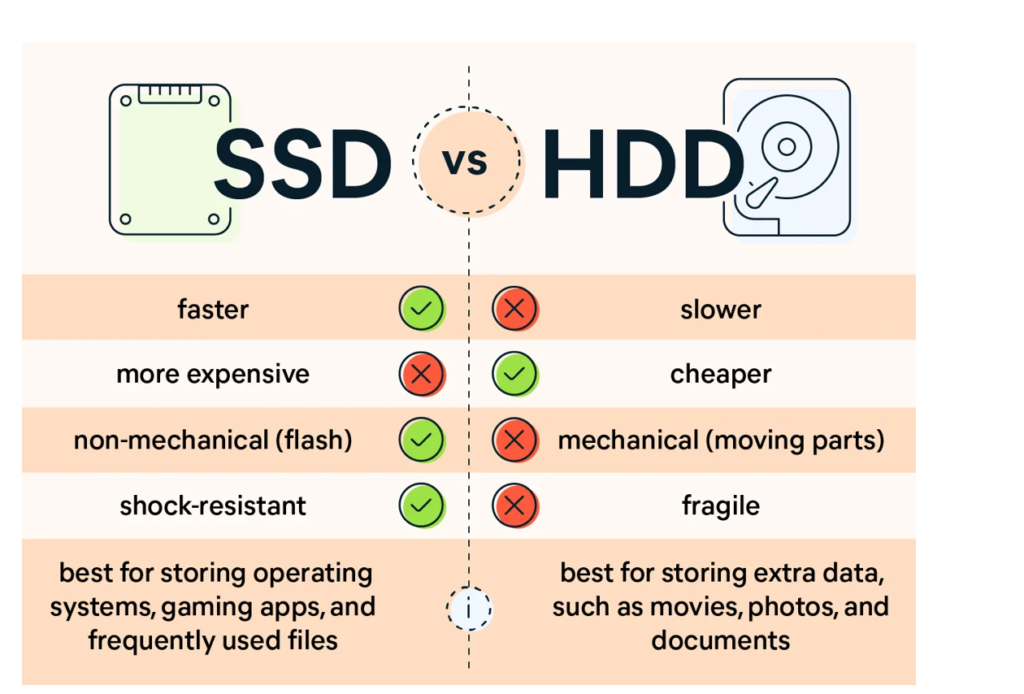
Do not build a 2026 system with a hard disk as its boot and game drive. The savings aren’t worth it. A 1TB NVMe Gen 4 SSD will provide fast load times without the cost of PCIe Gen 5 drives, which don’t offer enough gaming benefits to justify the price difference for most people.
I learned this lesson the hard way on my first build, a mechanical hard drive I had on hand. I bought an SSD within four months because load times were so bad, so I paid for storage twice.
Choosing the Right Motherboard.
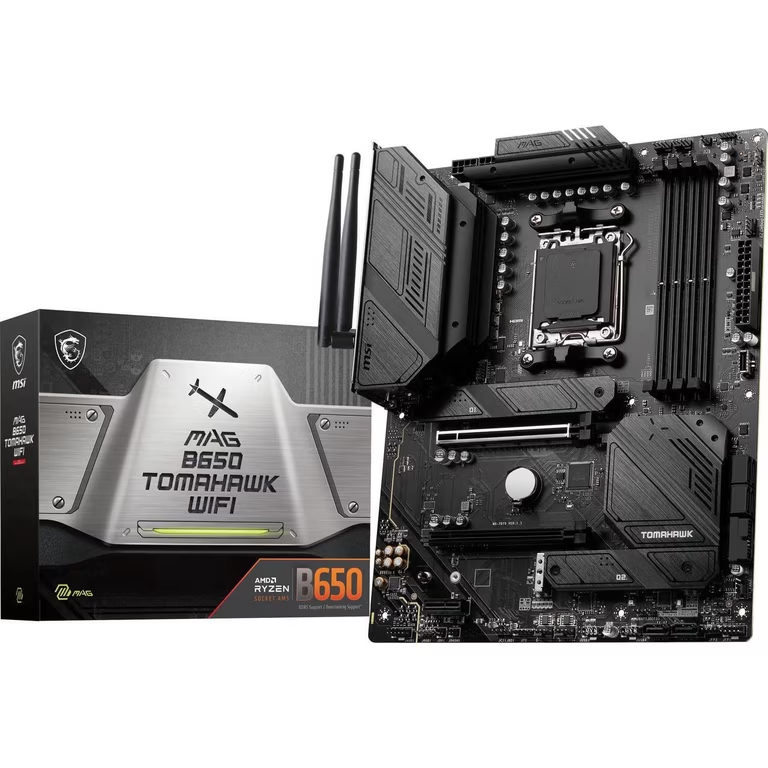
This part tripmanyot of first-time builders, myself included, on that very first dorm room build. Your motherboard needs to physically match your CPU’s socket type and ideally have some room to support a future upgrade without needing a full platform replacement.
For AM4 builds with the Ryzen 5 5600 or 5600G, a B450 or B550 board is a sensible, affordable choice. For AM5 builds with a Ryzen 5 7600, B650 boards are a good choice, as they strike a reasonable balance between price and future upgrade compatibility.
Selecting a Reliable Power Supply.
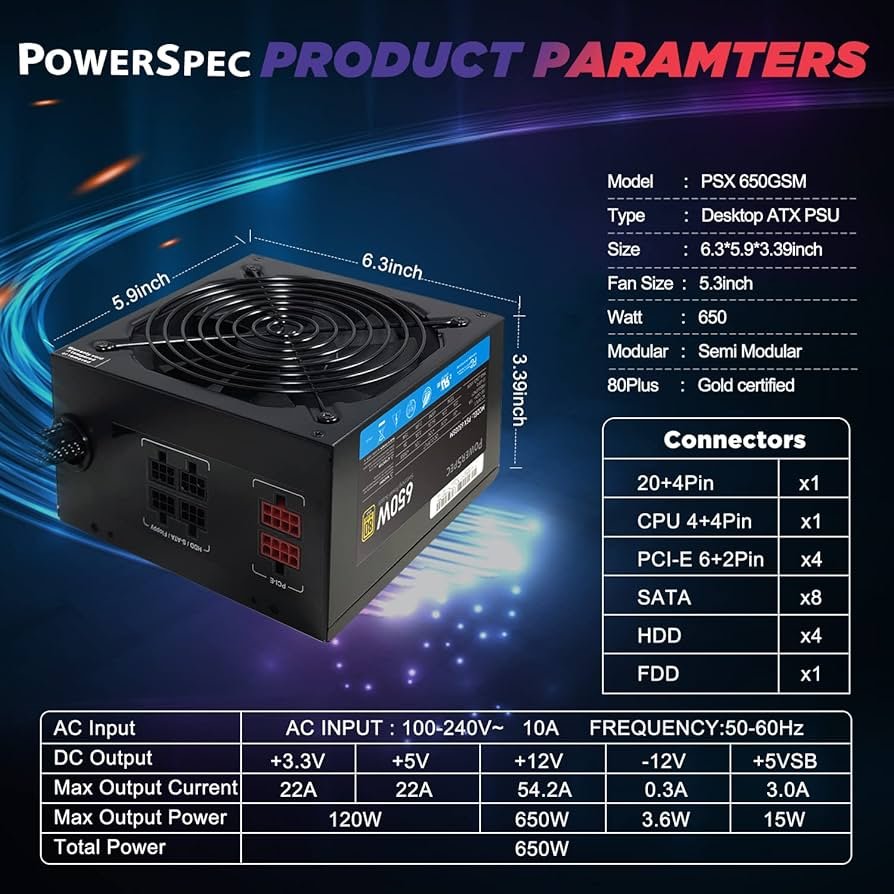
I cannot stress this point enough: don’t cheap out here. A poor power supply is one of the few parts that can truly ruin the rest of your project if it goes bad. A 650W 80 Plus Bronze semi-modular unit is a strong, safe choice for most budget setups in this guide, allowing you ample headroom for a future GPU upgrade without wasting on wattage you don’t now need.
I checked out the PSU on build number two, saved about $20, and lived with sporadic shutdowns under load for months before finally realizing it was the PSU and replacing it. That $20 “savings” cost me a lot more in wasted time and a second purchase.
Best Budget PC Cases.
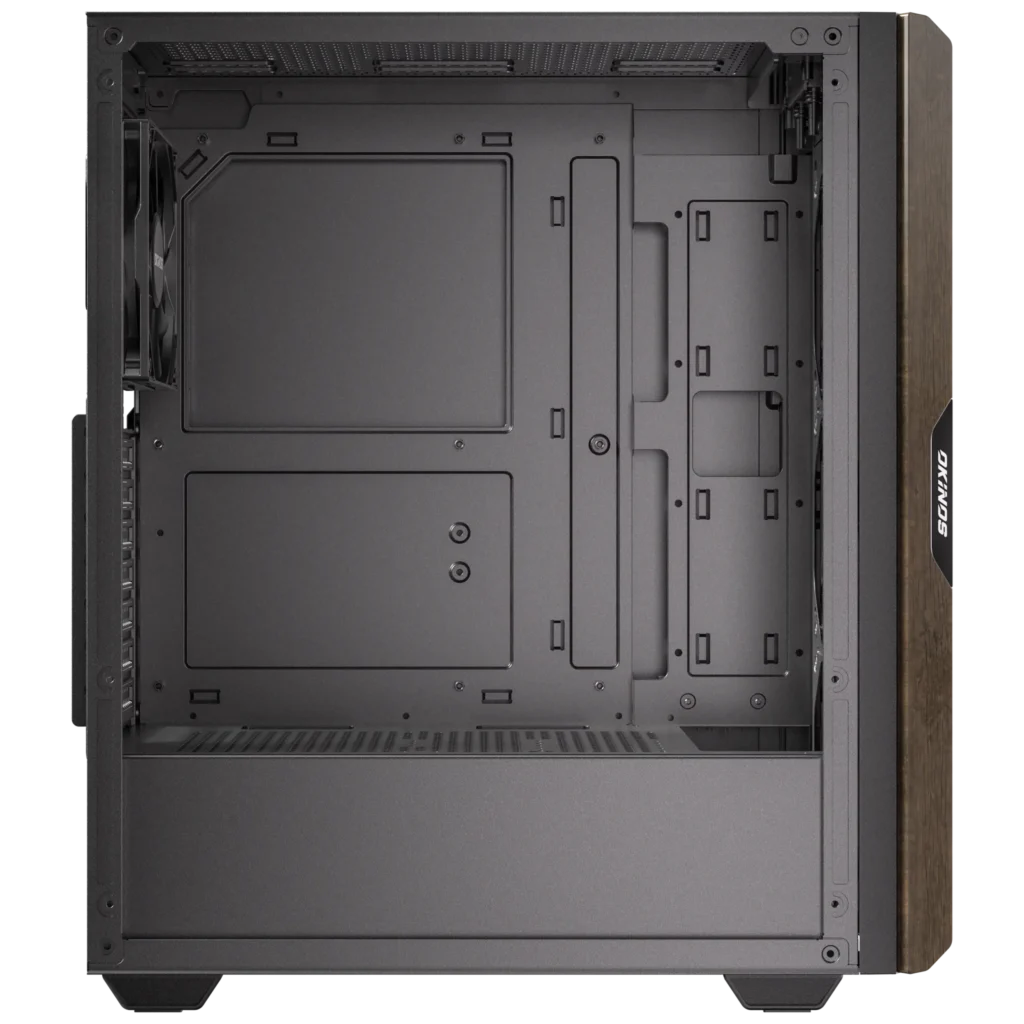
In all honesty, case sensitivity is less of a performance issue than people think; however, airflow does matter. You want a mid-tower case that comes with a couple of fans already installed, not just the bare minimum. The Okinos Cypress 5, for instance, comes with four 120mm fans included, making it a fantastic example of solid budget airflow without having to immediately buy more fans.
If you are on a budget, avoid the cases with lots of RGB. It adds expense and does absolutely nothing for your actual gaming performance. I found that buying a case just because it looked great was a mistake, and I immediately regretted wasting money that could have gone towards my GPU instead.
(Complete Budget Gaming PC Builds)
$500 Gaming PC Build.
- CPU: AMD Ryzen 5 5600G (integrated graphics, no dedicated GPU needed)
- RAM: 16GB DDR4
- Storage: 500GB NVMe SSD
- Motherboard: B450
- PSU/Case combo: budget bronze-rated PSU with a basic mid-tower case
This version is well-suited for esports titles and lighter AAA games on 1080p. It won’t run the most demanding new releases at maximum settings, but for a first build or a supplementary household PC, it’s a smart, low-risk starting point.
$700 Gaming PC Build.
- CPU: AMD Ryzen 5 5600
- GPU: Intel Arc B570
- RAM: 16GB DDR4
- Storage: 1TB NVMe Gen 4 SSD
- Case: mid-tower with pre-installed fans (four 120 mm is a good target)
- PSU: 650W 80 Plus Bronze semi-modular
This is the tier I would actually suggest to most first-time builders. It smoothly performs 1080p at high settings throughout pretty much any current game and even manages lighter titles at 1440p without any effort.
$1000 Gaming PC Build.
- CPU: AMD Ryzen 5 7600
- GPU: AMD RX 7600 XT or Intel Arc B580 (12GB)
- RAM: 16GB DDR5
- Storage: 1TB NVMe Gen 4 SSD
- Motherboard: B650
- PSU: 650W 80 Plus Bronze semi-modular
This configuration is where things start to feel really very comfortable for 1440p gaming, and the AM5 platform ensures your next CPU upgrade will plug into the same motherboard down the line, which matters more than people realize when planning for the next several years.
(Expected Gaming Performance)
1080p Gaming Benchmarks.
The $500 build also uses only integrated graphics, yet it runs esports games like competitive shooters and older AAA titles at medium to high settings with ease. The $700 build can handle most current AAA titles at high settings at 1080p with reasonably smooth frame rates. The $1000 setup has enough headroom to handle just about everything at 1081080p, maxed out, without even breaking a sweat.
1440p Gaming Results.
You really aren’t going to construct a $500 PC for 1440p, and I wouldn’t try to push it there. The $700 build handles lighter, less demanding titles at 1440p pretty well, but don’t look for max settings across the board. Really the $1000 setup is where 1440p gaming starts to feel good and fluid at high settings in most current titles.
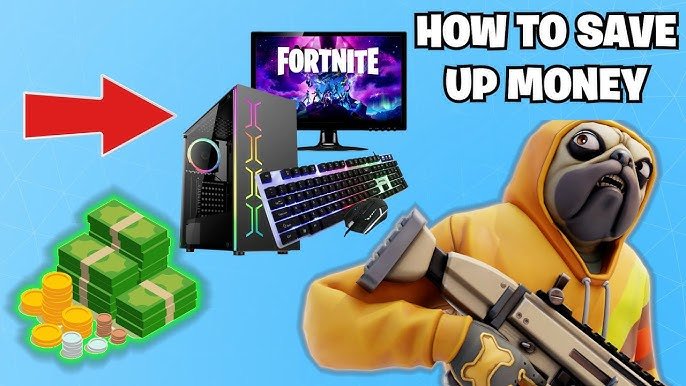
Tips to Save Money When Building a Gaming PC.
- Check pricing on Amazon. I’ve bought two open-box GPUs over the years with full warranties intact and saved a meaningful chunk both times.
- Buy last-gen CPUs that still perform well rather than chasing the newest one. A slightly older chip at a discount often outperforms a brand-new budget chip at full price.
- Skip RGB lighting if your budget is tight. It adds cost without any performance benefit.
- Watch for seasonal sales rather than buying everything at once on a whim. I’ve saved real money over the years just by being patient around major sales periods instead of buying components the moment I decided to build.
- Consider a free OS option for a secondary or non-Windows-dependent build, if you’re comfortable with the learning curve.
Common Mistakes to Avoid
- Buying a cheap power supply is a mistake. This is the mistake I see most often, and I’ve made it myself. It’s not worth the risk to the rest of your components.
- Buying an 8GB GPU when a 12GB or 16GB option is close in price. VRAM matters more each year as games get more demanding.
- Forgetting to check CPU and motherboard socket compatibility before buying can lead to a frustrating situation. This step sounds obvious until you’re the person staring at two components that physically don’t fit together.
- Skipping thermal paste application or applying way too much can lead to problems. A thin, even layer is all you need. I over-applied on an early build and ended up with a genuinely messy cleanup job.
- Ignoring case airflow in favor of looks can lead to throttled components under load. A good-looking case with poor airflow will throttle your components under load regardless of how nice it looks on your desk.

Frequently Asked Questions (FAQs)
- Do I need a dedicated GPU for a budget build? Not really. The Ryzen 5 5600G’s integrated graphics handle esports titles and lighter games reasonably well, making it a genuinely solid choice if you’re starting with the tightest possible budget.
- Is DDR4 or DDR5 RAM better for a budget build? It depends entirely on your CPU and motherboard platform. AM4 builds use DDR4, while newer AM5 builds require DDR5. Don’t buy RAM before confirming which platform your CPU and motherboard actually support.
- How long will a budget gaming PC last before needing an upgrade? In my experience, a well-balanced budget build holds up for 3 to 5 years of solid performance before you’ll want to consider a GPU refresh, longer if you’re not chasing max settings on every new release.
- Is it really possible to build a gaming PC with no prior experience? Yes, genuinely. My first build had multiple mistakes along the way, including a moment where I thought I’d destroyed a CPU, and it still worked and ran for six years. Take your time, watch a full build video before starting, and don’t rush the process.

Where Can You Actually Buy These Parts?
Instead of connecting to a specific listing, I’m linking directly to live search results, because exact SKUs and pricing are in flux, and a single frozen link grows stale soon. These pull current inventory and price every time you click them.
CPUs:
- AMD Ryzen 5 5600G on Newegg
- Ryzen 5 5600 on Newegg
- Ryzen 5 7600 on Newegg
- Intel Core i5-14400F on Newegg
GPUs:
RAM, storage, motherboards, PSU, and case:
- 16GB DDR4 RAM on Newegg
- 16GB DDR5 RAM on Newegg
- 1TB NVMe Gen 4 SSD on Newegg
- B450/B550 AM4 motherboards on Newegg
- B650 AM5 motherboards on Newegg
- 650W 80 Plus Bronze semi-modular PSU on Newegg
- Okinos Cypress 5 case on Newegg
General retailers, if you’d rather compare across brands yourself:
- Newegg
- Amazon
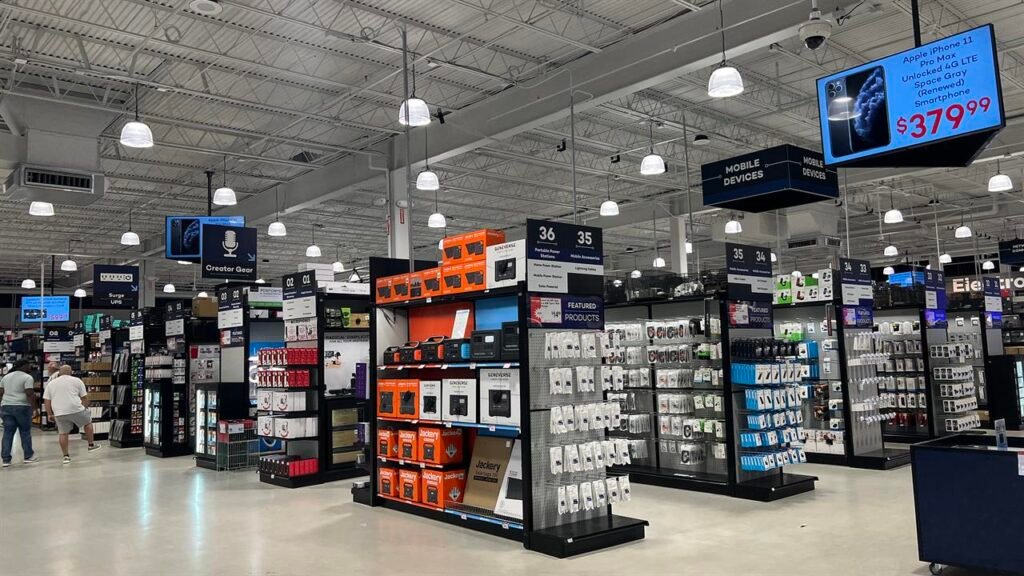
- Micro Center—worth checking if you’ve got one nearby; their in-store bundle deals often beat online pricing
Double-check current prices before buying anything, since component pricing shifts fairly often, sometimes week to week depending on supply.
Final Thoughts
Building your own inexpensive gaming PC in 2026 is actually easier than it seems, even if component names and specs feel overwhelming at first. I’ve made plenty of blunders throughout four builds now: bent pins, cheap power supply, over-applied thermal paste, and every single system still ended up operating and serving me well for years. Choose the tier that fits your actual budget, remember the mundane details like your PSU and case airflow, and take your time on assembly day. You’ll have a system you fully understand, and, honestly, that first successful power-on moment is always exciting, no matter how many builds you’ve done.
(Before You Go)
Thank you for taking the time to read this guide on building a budget gaming PC. I hope it has given you the confidence to choose the right components and build a setup that fits both your gaming needs and your budget. If you found this article helpful, be sure to check out our PC building and gaming guides for more tips, reviews, and recommendations. Until next time, happy gaming and happy building!
Have questions, opinions, or your own experience. You are welcome to share your thoughts in the comments below. We would love to hear your perspective. For more detailed gaming news, reviews, guides, and updates, stay connected with us. If you need any clarification, suggestions, or feedback, please feel free to contact us through our website. http://www.gamingmuzz.com
Keep following us for the latest updates in the world of gaming!
For more details, contact http://www.gamingmuzz.com OR http://www.amazon.com for the latest prices.